Diving into the world of sushi, we’ve discovered a gem that’s sure to tantalize your taste buds – the Red Snapper Sushi Roll. This delightful dish combines the subtle flavors of red snapper with the classic sushi roll elements, creating a culinary masterpiece that’s both visually appealing and delicious.
Sushi, a beloved Japanese cuisine, has traveled far and wide, adapting to local tastes and ingredients. Our version of the Red Snapper Sushi Roll is a testament to this adaptability, blending traditional techniques with a twist that highlights the snapper’s delicate taste. It’s a perfect dish for those looking to explore the art of sushi making at home or simply wanting to impress at their next dinner party.
Join us as we guide you through each step, ensuring you’ll craft a sushi roll that’s as beautiful to look at as it is to eat. Whether you’re a seasoned sushi enthusiast or a curious newcomer, this recipe is bound to become a favorite.
Ingredients
Now that we’ve introduced you to the delights of the Red Snapper Sushi Roll, let’s ensure you have everything you need to craft this splendid dish. Gather these ingredients, and you’ll be on your way to creating an unforgettable sushi experience.
For the Sushi Rice
- 2 cups sushi rice
- 2 1/2 cups water
- 1/3 cup rice vinegar
- 3 tablespoons sugar
- 1 teaspoon salt
For the Red Snapper Filling
- 8 ounces red snapper filet, skin removed and thinly sliced
- 1 tablespoon lemon juice
- Pinch of salt
- Pinch of black pepper
- 1 avocado, thinly sliced
- 1/2 cucumber, julienned
- 4 sheets nori (seaweed)
- 1 tablespoon mayonnaise (optional)
- 1 teaspoon sriracha (optional for a spicy kick)
- Soy sauce, for serving
- Pickled ginger, for serving
- Wasabi, for serving
Now that we’ve laid out all the ingredients, let’s dive into how we’re going to bring our Red Snapper Sushi Roll to life. With precise measurements and quality ingredients listed, you’re set up for sushi-making success.
Required Tools and Equipment
To ensure your sushi-making adventure goes smoothly, having the right tools and equipment is essential. Let’s dive into the items you’ll need to create your Red Snapper Sushi Rolls.
- Bamboo Sushi Mat: This traditional tool is crucial for rolling tight, uniform sushi rolls. It helps in maintaining the shape and ensures even pressure throughout the roll.
- Sharp Knife: A sharp, non-serrated knife is key for cleanly slicing your rolls and raw fish. It’s best to use a knife specifically designed for sushi making, such as a sashimi knife, for precision cuts.
- Rice Cooker or Pot: Perfect sushi starts with perfectly cooked rice. A rice cooker makes this process effortless, but a regular pot with a tight-fitting lid can work as well.
- Rice Paddle or Wooden Spoon: After cooking, the sushi rice needs to be seasoned and fluffed. A rice paddle or a wide wooden spoon is ideal for mixing the rice gently without mashing the grains.
- Mixing Bowl for Rice Seasoning: You’ll need a non-metallic mixing bowl to season your rice. Using a wooden or glass bowl helps prevent any interaction with the vinegar seasoning.
- Food Processor or Sharp Knife for Filling: Depending on your preference for the red snapper filling, a food processor can make quick work of chopping or mincing. Alternatively, a sharp knife does the job for a more hands-on approach.
- Plastic Wrap: This helps in keeping your bamboo mat clean and prevents rice from sticking to it. It’s also useful for making inside-out rolls, where the rice is on the outside.
- Seaweed (Nori) Scissors or a Sharp Scissors: Though optional, seaweed scissors make cutting nori sheets to size a breeze. They can also be used for intricate cuts if you’re adding decorative elements to your sushi.
- Vegetable Peeler: Perfect for creating thin slices of cucumber or avocado that can be used for toppings or inside the rolls.
- Small Bowls for Ingredients: Having your ingredients prepped and placed in small bowls makes the assembly process quicker and more organized. This mise en place approach ensures everything is within reach when you start rolling.
Preparing the Ingredients
Having gathered all the necessary tools, let’s dive into preparing our ingredients. This is where the flavor begins to take shape, ensuring our Red Snapper Sushi Rolls turn out deliciously perfect.
Cooking the Sushi Rice
First up, we’ll need to prepare the sushi rice, as it’s the base of our roll and contributes significantly to the overall flavor and texture.
- Rinse the Rice: Start by rinsing 1 cup of sushi rice under cold water until the water runs clear. This step removes excess starch and prevents the rice from being too sticky.
- Cook the Rice: Transfer the rinsed rice into a rice cooker and add 1¼ cups of water. Let it cook until the cooker indicates it’s done; this usually takes about 20 minutes.
- Season the Rice: While the rice is still warm, transfer it to a large wooden or plastic bowl. Gently fold in a mixture of 2 tablespoons of rice vinegar, 1 tablespoon of sugar, and ½ teaspoon of salt using a rice paddle. Be careful not to mash the rice.
- Cool the Rice: Allow the seasoned rice to cool to room temperature before using it in your sushi rolls. A fan can speed up this process without drying out the rice.
Preparing the Red Snapper
Next, let’s prepare the red snapper, which is the star ingredient of our sushi roll.
- Filet the Fish: Begin with a fresh red snapper filet, about 8 ounces. If you’re not comfortable fileting the fish yourself, ask your fishmonger to do it for you.
- Slice the Fish: Using a sharp knife, slice the filet against the grain into thin strips, approximately ¼ inch thick. This ensures the fish is tender and easy to roll.
- Marinate (Optional): For an added flavor boost, you can marinate the strips in a mixture of soy sauce, lemon juice, and a hint of sugar for about 10 minutes. This step is optional but recommended.
Cutting the Vegetables
To add crunch and freshness to our rolls, we’ll include some vegetables.
- Prepare the Avocado: Slice one ripe avocado into thin strips. To prevent browning, lightly squeeze lemon juice over the strips.
- Julienne the Cucumber: Peel a cucumber and then cut it into long, thin julienne strips. Make sure to remove the seeds before slicing to avoid extra moisture in the roll.
- Prep the Scallions: Thinly slice a handful of scallions. They’ll add a nice onion flavor without overpowering the other ingredients.
With our ingredients ready, we’re poised to start assembling our Red Snapper Sushi Rolls, promising an enticing combination of flavors and textures that are sure to delight any sushi lover.
Making the Red Snapper Sushi Roll
Now that we’ve prepped our ingredients and have our sushi station ready, it’s time to bring together the Red Snapper Sushi Roll. This part of the process is where the magic happens, transforming simple ingredients into a masterpiece of flavors and textures.
Spreading the Rice on the Nori Sheet
First, place a sheet of nori on a bamboo sushi mat, ensuring the shiny side faces down. Dip your fingers in a bowl of water mixed with a bit of rice vinegar to prevent the rice from sticking. Then, take about a cup of the cooled sushi rice and evenly spread it over the nori sheet, leaving about a half-inch margin at the top edge free of rice. It’s important to spread the rice thinly and evenly, creating a perfect base for the sushi roll.
Adding the Filling
Once your rice is in place, it’s time to add the fillings. Arrange a few slices of the red snapper horizontally across the center of the rice-covered nori. Next, add your thinly sliced avocado, cucumber sticks, and a bit of spicy mayo alongside the fish. The key here is to not overfill; you want just enough filling to be flavorful but not so much that the roll can’t be closed.
Rolling the Sushi
Now for the rolling part. Lift the edge of the bamboo mat closest to you, using your fingers to hold the fillings in place. Roll the mat over the fillings, pressing gently but firmly to tuck the fillings into the roll. Continue rolling, pulling the mat away as you go, until you’ve formed a tight sushi roll. Before unrolling the mat, gently press along the length of the sushi roll to ensure it’s compact and holds its shape.
Using a sharp knife moistened with water, slice the sushi roll into bite-sized pieces. The trick to getting clean cuts is to saw gently and wipe your knife with a damp cloth between slices to prevent the rice from sticking.
Serve the Red Snapper Sushi Rolls immediately, accompanied by soy sauce, pickled ginger, and wasabi to complement the delicate flavors of the snapper and fresh vegetables. Enjoy the burst of flavors and the satisfying texture of your homemade sushi roll.
Cutting and Serving
After perfecting the roll, the next vital step is cutting and serving your Red Snapper Sushi Rolls. Proper technique ensures each piece is as beautiful as it is delicious.
How to Cut Your Sushi Roll
To begin, ensure your knife is very sharp. A dull knife will crush the roll, ruining its appearance. Moisten the blade with water; this reduces sticking and achieves a cleaner cut.
- Start by cutting the roll in half. Place the two halves side by side.
- Cut each half into three equal pieces for traditional sushi size, or four for smaller, bite-size pieces. Remember to wipe and moisten the knife with water after each cut.
- Continue the process until all your rolls are cut.
This method ensures uniform pieces that display the roll’s inner beauty, showcasing the vibrant red snapper and fresh vegetables.
Presentation Tips
The presentation is almost as important as the taste when serving sushi. Here are some tips to elevate your Red Snapper Sushi Rolls:
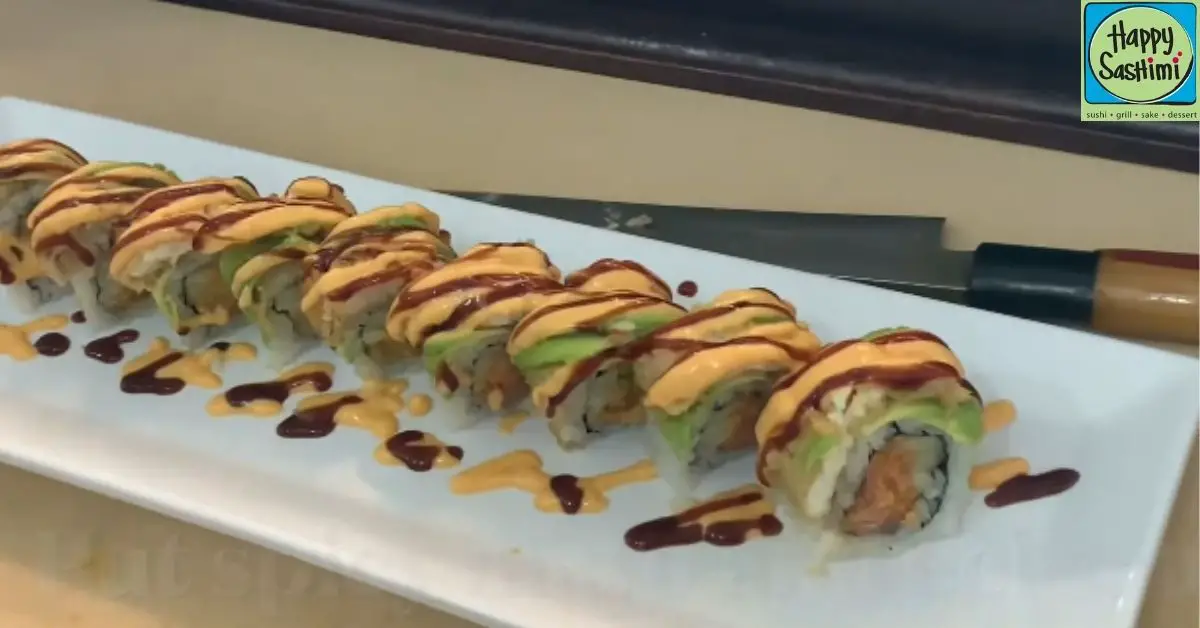
- Plating: Arrange the sushi pieces on a clean, white plate in a curved or straight line. The simplicity of the plate will highlight the colors and textures of the sushi.
- Garnishing: A small dollop of spicy mayo or a sprinkle of sesame seeds on each piece can add flavor and visual appeal. A couple of slices of lemon can brighten the plate.
- Accompaniments: Place a small mound of pickled ginger and a tiny blob of wasabi on the corner of the plate. Offer soy sauce in a small, shallow dish for dipping.
- Greenery: A few strategically placed fresh herbs or microgreens can add a pop of color and freshness to your presentation.
Creating an attractive presentation enhances the overall experience of enjoying Red Snapper Sushi Rolls, making each bite a delight not only to the palate but also to the eyes.
Make-Ahead Instructions
Preparing a sushi feast can seem daunting, but with a bit of foresight, you can simplify the process immensely. Let’s delve into how we can prepare some components of our Red Snapper Sushi Rolls ahead of time, ensuring a smoother sushi-making experience.
First off, the sushi rice is a critical component that benefits from advance preparation. You can cook the sushi rice up to 4 hours before assembling the rolls. Once cooked, spread the rice out on a tray to cool to room temperature, then cover it with a damp cloth to keep it moist. This step prevents the rice from drying out and maintains its perfect sticky texture for rolling.
Next, consider the red snapper. If you’re using fresh red snapper, you can slice it into thin strips ahead of time and store it in the refrigerator. Lay the slices flat on a plate, cover them with plastic wrap, and they will be ready to go when you start assembling your sushi rolls. If using sashimi-grade frozen red snapper, ensure it’s fully thawed in the refrigerator overnight. It’s crucial to keep the fish cold for safety and freshness.
The vegetables, such as cucumber and avocado, can also be prepped ahead. Slice the cucumber into thin strips and cut the avocado into slices or spreads, depending on your preference. Store these in airtight containers in the fridge. A little lemon juice squeezed over the avocado will prevent it from browning too quickly.
As for the spicy mayo, it can be mixed together and stored in a sealed container in the refrigerator. The flavors of the mayo will meld and intensify, adding a delightful kick to your sushi rolls.
Lastly, assembling the mise en place will streamline your sushi rolling. Having your nori sheets, a bowl of water, a clean towel, and all your ingredients neatly arrayed around your sushi mat will make the process faster and more enjoyable.
By following these make-ahead instructions, you’re setting yourself up for a stress-free sushi making session, giving you more time to focus on the delicate art of rolling and presenting your Red Snapper Sushi Rolls. This efficient prep work ensures that each roll is a harmonious blend of flavors and textures, ready to impress at your dining table.
Conclusion
We’ve walked through the delightful journey of making Red Snapper Sushi Rolls, a dish that not only tantalizes the taste buds but also brings a creative twist to our sushi nights. By prepping ahead and keeping an eye on the quality of our ingredients, we’ve seen how simple it is to transform our kitchens into a sushi chef’s paradise. Remember, it’s all about enjoying the process and savoring each bite with friends and family. So let’s roll up our sleeves, get those sushi mats out, and create some unforgettable dining moments together. Here’s to many more sushi adventures ahead!