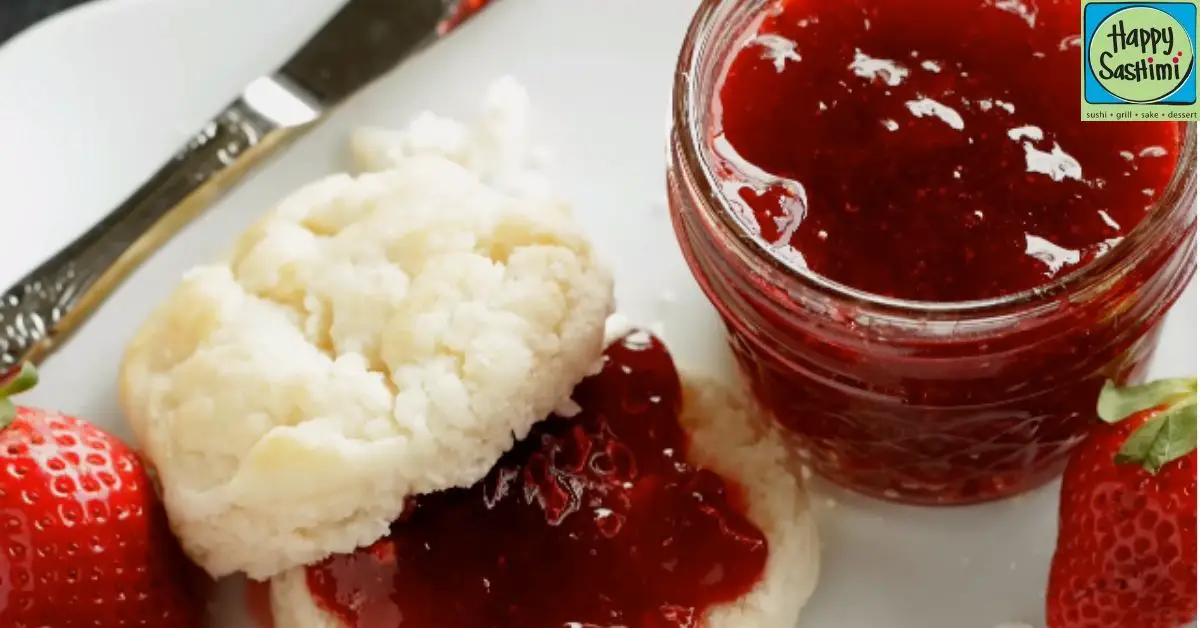
There’s something incredibly comforting about spreading homemade strawberry preserves on a slice of warm toast. The burst of sweetness, the vibrant color, and the chunky texture of the strawberries take us back to those sunny mornings at grandma’s kitchen table. We’re excited to share our cherished strawberry preserves recipe, a simple yet delightful way to capture the essence of summer in a jar.
Making strawberry preserves is more than just a culinary activity; it’s an act of love and nostalgia. Whether you’re a seasoned jam maker or a curious newbie in the world of preserves, this recipe is designed to guide you through every step, ensuring your strawberry preserves turn out perfectly. Join us as we dive into the sweet, sticky world of homemade preserves, where every spoonful tells a story of tradition, family, and the simple joys of life.
Ingredients
Gathering the right ingredients is the first step to encapsulating the vibrant flavors of summer into a jar of strawberry preserves. Below, you’ll find everything needed to create this delightful spread.
Fresh Strawberries
- 4 cups of fresh strawberries, hulled and halved
- Ensure the strawberries are ripe and fragrant, which will significantly enhance the flavor of your preserves.
Sugar and Pectin
- 2 cups of granulated sugar
- 1 packet (approximately 1.75 ounces) of pectin
- The sugar not only sweetens the preserves but also helps in achieving the perfect texture. Pectin is a natural gelling agent that will give our preserves the ideal spreadable consistency.
- 2 tablespoons of fresh lemon juice
- The lemon juice brightens the flavor of the strawberries and acts as a natural preservative, extending the shelf life of your homemade preserves.
Required Tools and Equipment
In our journey to capture the essence of summer in a jar, having the right tools and equipment is crucial for making the perfect strawberry preserves. Let’s explore what you’ll need to turn those fresh berries into a delightful spread.
Large Saucepan
The first essential piece of equipment is a large saucepan. This will be the vessel where the magic happens, transforming raw strawberries, sugar, and lemon juice into thick, aromatic preserves. Opt for a heavy-bottomed saucepan which distributes heat evenly, preventing the sugar from scorching at the bottom. A capacity of at least 8 quarts is ideal, as it provides ample space for the mixture to boil vigorously without spilling over. Remember, making preserves is as much about the process as the end result, and a good saucepan is key to that process.
Glass Jars and Lids
Once your strawberry preserves are bubbling and ready, you’ll need to store them properly. Glass jars with tight-fitting lids are perfect for this task. We recommend using Mason jars or similar canning jars specifically designed for preserving food. Before starting your preserve-making journey, ensure your jars and lids are sterilized to prevent any bacterial growth that could spoil your hard work. You can sterilize them by boiling in water for 10 minutes or using a dishwasher if it has a sterilizing cycle. The beauty of using glass jars is not just functional; they also showcase the vibrant, ruby-red preserves beautifully, making every glance a reminder of the sweet summer encapsulated within.
Prep Work Before Cooking
Before we dive into the heart of making our strawberry preserves, let’s ensure we have our ingredients prepped and our equipment ready. This will make the cooking process smooth and enjoyable.
Cleaning and Hulling Strawberries
First, we’ll need to properly clean and prepare our strawberries. Since strawberries will be the star of our preserves, we want them to be fresh, clean, and free of any stems or leaves. Here’s how we do it:
- Rinse the strawberries gently under cold water to remove any dirt or debris.
- Pat them dry with a soft cloth or paper towel to remove excess water. This step is crucial to prevent our preserves from being too watery.
- Using a small knife or a strawberry huller, remove the green caps and any white parts from the top of each berry. This is called hulling.
- Slice the strawberries in half or quarters, depending on your preference for the texture of the preserves. Larger chunks will give you a chunkier preserve, while smaller pieces will result in a smoother texture.
Sterilizing Jars and Lids
Ensuring our jars and lids are sterilized is vital for the longevity of our strawberry preserves. The sterilization process eliminates potential bacteria that could spoil our delicious creation. Here’s what we do:
- Start by washing the glass jars and lids with hot, soapy water. Rinse them well to ensure no soap residue is left.
- Place the jars on a rack in a large pot. Fill the pot with enough water to cover the jars completely.
- Bring the water to a boil and let the jars boil for 10 minutes. The steam will sterilize the jars thoroughly.
- Carefully remove the jars using jar tongs or a similar tool and place them on a clean, dry towel. Let them air dry completely or dry them with a clean towel.
- The lids should not be boiled but can be simmered in a smaller pot for a few minutes to sterilize.
- Keep the jars and lids warm until you are ready to fill them with the strawberry preserves to prevent the glass from breaking when filled with the hot preserve mixture.
By following these preparatory steps, we ensure that our strawberry preserves are not only delicious but safe to store and enjoy for months to come.
Cooking Instructions
Now that we’ve prepared our strawberries and sterilized our jars, it’s time to dive into the cooking process. Let’s walk through the steps to transforming these fresh strawberries into delicious preserves.
Combining Ingredients
To start, place your cleaned and hulled strawberries in the large saucepan. Depending on your preference for texture, you can leave the strawberries whole, halve, or crush them slightly. For every cup of strawberries, you’ll need to add ¾ cup of granulated sugar. This ratio ensures a perfect balance of sweetness while allowing the natural flavor of the strawberries to shine. Stir in the juice of one lemon, which not only adds a subtle brightness to the preserves but also helps in setting by providing natural pectin.
Mix these ingredients well over medium heat until the sugar is completely dissolved. This step is crucial for a smooth texture in the final product and prevents any crystallization.
Cooking Down the Mixture
With the strawberries, sugar, and lemon juice well combined, increase the heat to bring the mixture to a boil. Keep a vigilant eye on the saucepan to prevent any bubbling over. Once boiling, reduce the heat slightly to maintain a vigorous simmer. Stir the mixture occasionally to ensure it cooks evenly and doesn’t stick to the bottom of the pan.
As the mixture simmers, you’ll notice it gradually thickening. This is the natural pectin in the strawberries and lemon juice working its magic. The process may take about 20-30 minutes, depending on the heat and the amount of moisture in the strawberries. Throughout this time, skim off any foam that forms on the surface to ensure your preserves are clear and beautiful.
Testing for Jelling Point
Determining when your strawberry preserves have reached the jelling point is key to a successful batch. After about 20 minutes of cooking, start checking for the set. A simple method is the “wrinkle test.” Place a small plate in the freezer before you begin cooking. To test, spoon a small amount of the preserve onto the chilled plate and return it to the freezer for a minute. Then, push the edge of the preserve with your finger. If it wrinkles, it has set, and your preserves are ready. If not, continue cooking and checking every few minutes.
Another method is using a candy thermometer. The jelling point is typically reached at 220°F (104°C). If you prefer to use a thermometer, keep it immersed in the mixture and monitor the temperature closely as it nears the set point.
Once the jelling point is reached, remove the saucepan from the heat. Let it sit for a couple of minutes to allow the fruit to distribute evenly. Now, you’re ready to carefully ladle the preserves into the prepared sterilized jars, leaving a little space at the top to allow for expansion. Seal the jars while they’re still hot to ensure a good seal.
Following these steps ensures your strawberry preserves will be a delightful addition to any pantry, ready to bring a burst of strawberry flavor to your table year-round.
Canning Process
After reaching the perfect jelling point, our next step is canning, ensuring our strawberry preserves last long and remain delicious. We’ll guide you through this crucial phase with two key steps: filling the jars and processing them in a water bath.
Filling the Jars
- Prep Your Workspace: First, organize your workspace. Lay out the sterilized jars, lids, and a canning funnel. Keep a clean cloth or paper towels nearby to wipe down any spills.
- Fill the Jars: Using the canning funnel, carefully ladle the hot strawberry preserves into the jars, leaving about a 1/4-inch headspace at the top. This space is essential for creating a vacuum seal.
- Remove Air Bubbles: Slide a clean, non-metallic spatula or a bubble remover tool around the inside edge of each jar. This step dislodges any trapped air bubbles, which could affect the sealing process.
- Wipe the Rims: With a clean damp cloth, wipe the rims of the jars to remove any preserve residue that could hinder the seal.
- Apply the Lids: Place the sterilized lids on top of the jars, ensuring the sealant ring is centered. Screw on the bands until they are fingertip tight. Avoid overtightening, as air needs to escape during the processing.
- Prepare the Water Bath: Fill a large canning pot with enough water to cover the jars by at least 1 inch. Preheat the water to a simmer (about 180°F) while you’re filling the jars.
- Lower the Jars: Using a jar lifter, carefully place the filled jars onto the rack in the canning pot. Ensure the jars are not touching each other for even heat distribution.
- Boil the Jars: Increase the heat and bring the water to a full rolling boil. Once boiling, cover the pot and process the jars for 10 minutes (adjust the time based on your altitude if necessary).
- Cool the Jars: After processing, turn off the heat and remove the pot’s lid. Let the jars rest in the water for 5 minutes. Then, using the jar lifter, carefully lift the jars from the water bath and place them on a towel or cooling rack to cool undisturbed for 12 to 24 hours.
- Check the Seals: After cooling, check the seals by pressing the center of each lid. A properly sealed lid will not pop back. Any jars that haven’t sealed correctly should be refrigerated and consumed within a couple of weeks.
By following these steps, you’ll ensure your strawberry preserves are safely canned, boasting that vibrant, fruity flavor we love so much. Our delicious preserves can now be stored in a cool, dark place for year-round enjoyment.
Cooling and Storing
After ensuring the strawberry preserves are properly canned, the next critical steps are cooling them down and storing them for long-term enjoyment. Let’s guide you through these processes to make sure your preserves remain delicious and safe to eat.
Cooling Down
Once the jars have been processed in the water bath, carefully remove them using a jar lifter and place them on a towel or cooling rack. It’s important not to disturb the jars for 12 to 24 hours. This time allows the preserves to cool down gradually and helps the lids to seal onto the jars properly. You’ll notice the lids making a popping sound as they seal; this is a good sign that your canning process is successful. Keep the jars out of direct sunlight and away from drafts as they cool. This step is crucial for preventing the jars from breaking due to temperature changes and for ensuring the contents settle properly.
Checking Seal and Storage
After the jars have cooled, check the seal by pressing the center of each lid. If the lid doesn’t pop back, it’s sealed correctly. Any jars that haven’t sealed properly should be reprocessed with a new lid or refrigerated and used within a few weeks.
For the jars that have sealed, label them with the contents and the date of processing. Store the sealed jars in a cool, dark place like a pantry or cellar. Properly sealed preserves will last for up to a year when stored correctly. Avoid stacking jars on top of each other as this could compromise the seal or make the lids difficult to open later.
By following these cooling and storing tips, your strawberry preserves will be perfectly set and ready to enjoy whenever you crave a sweet, fruity addition to your meals and snacks.
Serving Suggestions
After your strawberry preserves have cooled and are ready to enjoy, it’s time to explore the variety of ways to serve them. Let’s dive into some classic and delicious serving suggestions.
On Toast
One of the simplest yet most satisfying ways to enjoy strawberry preserves is spread over a warm, crisp slice of toast. First, choose your preferred type of bread—anything from a hearty whole grain to a soft, white loaf works beautifully. Toast the bread to your desired level of crispness. Then, while the toast is still warm, generously spread a layer of your homemade strawberry preserves on top, allowing the preserve’s warmth to slightly soften and meld with the bread. The rich, fruity sweetness of the strawberry preserves pairs perfectly with the crunchy texture of the toast, creating a delightful contrast. For an extra layer of flavor, consider adding a spread of butter or cream cheese to the toast before adding the preserves.
With Yogurt
Incorporating strawberry preserves with yogurt is another splendid way to enjoy this homemade delight. Start with a bowl of your favorite yogurt—whether it’s tangy Greek yogurt, creamy traditional yogurt, or even a dairy-free alternative. Spoon a dollop of the strawberry preserves into the center of the yogurt. You can then either swirl the preserves into the yogurt, creating a beautiful pattern and distributing the sweet strawberry flavor throughout, or leave the preserves as a succulent center to be discovered with each spoonful. The natural tartness of the yogurt perfectly complements the sweetness of the preserves, making for a refreshing and nutritious snack or breakfast option. For added texture and nutritional benefits, sprinkle some granola, chopped nuts, or fresh fruit on top.
Conclusion
We’ve walked through the delightful journey of making strawberry preserves from scratch and discovered just how rewarding it can be. With the right tools and a bit of patience, we’re now equipped to enjoy these sweet creations in so many ways. Whether it’s brightening up our breakfast or adding a fruity twist to snacks, the possibilities are endless. Let’s embrace the joy of homemade preserves and share the love with every jar we seal. Here’s to many more batches of that unbeatable homemade goodness!
Related Posts:
- Healthy Banana Split Overnight Oats: Customize Your Morning Bliss
- Easy Zucchini Scallion Pancakes Recipe: Tips & Serving Ideas
- Easy Creamy Dijon Penne with Kielbasa Recipe: A Flavorful Feast
- Easy Strawberry Preserves Recipe: From Cooking to Serving
- Ultimate Guide to Smoky Confit Beans: Preparation & Storage Tips
- Ultimate Nitamago Recipe: Elevate Your Meals with This Japanese Marvel
- Ultimate Beet Tzatziki Recipe: Fresh, Flavorful & Easy to Make
- Ultimate Gnocchi Alla Bava Guide: Cooking, Serving & Storage Tips
- Pirikara Konnyaku: A Spicy Twist to Traditional Japanese Delight
- Easy Uiro Recipe: Make Traditional Japanese Chewy Sweets at Home